1. Overview
GuardWare DISCOVER is a data discovery and remediation system designed to locate, analyze, and secure sensitive information across an organization’s digital environment. It identifies sensitive data such as Personally Identifiable Information (PII), Payment Card Industry (PCI) data, and other regulated information, alerts relevant data owners, and ensures proper remediation to reduce exposure.
This guide provides step-by-step instructions for installing GuardWare DISCOVER and configuring the GuardWare DISCOVER Server on a Windows Server. It covers installing necessary dependencies, configuring MySQL, running the GuardWare DISCOVER Server Setup, and installing the IIS Rewrite Module.
2. Requirements
Before proceeding, make sure the following system requirements are met:
|
Specifications |
Requirements |
|---|---|
|
CPU |
8 cores or more |
|
RAM |
16 GB or more |
|
Storage |
Minimum 500 GB of disk space |
|
Windows Server Version |
2019 or later, fully updated, all patches installed |
|
Administrator Access |
Required for software installation and server configuration |
|
Ports |
443 (HTTPS), 3306 (MySQL), 6379 (Redis) |
|
MySQL Version |
MySQL version 8.4.4 or higher |
|
Database User Privileges |
CREATE, SELECT, INSERT, UPDATE, DELETE on the database |
|
Installation Files |
Visual C++, MySQL, Redis, DISCOVER Server Setup, IIS Rewrite Module |
|
Mobile Device |
Mobile device with Google or Microsoft Authenticator app installed |
3. Pre-Installation Requirements
Before installing the GuardWare DISCOVER, ensure the following dependencies are installed on your Windows Server in the order listed below. These components are necessary to support the core server functions of DISCOVER.
GuardWare will provide all required installer files for these components as part of the DISCOVER Server installation package. You can also download the installer files from their official websites.
-
Microsoft Visual C++ Redistributable: Required to run applications built with Visual C++ libraries, including runtime components used by MySQL and its associated services.
-
MySQL: Serves as the database backend for DISCOVER. It stores configuration details, encryption metadata, user profiles, and other operational data.
-
Redis: Used as an in-memory cache and message broker to support real-time processing and improve system performance.
4. Install Microsoft Visual C++ Redistributable
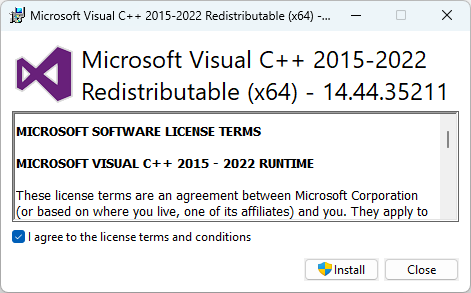
MySQL depends on the runtime libraries included in this package to execute its compiled C and C++ components. These libraries provide essential support for core functions, memory handling, and runtime operations required by MySQL’s binaries.
-
Download Microsoft Visual C++ Redistributable from Microsoft’s official website, search for the installer, and double-click to launch it.
-
Click on I agree to the license terms and conditions, and click Install.
-
Click Restart to reboot the device and complete the installation process.
5. Install and Configure MySQL
MySQL serves as the relational database engine for DISCOVER, storing scan job configurations, execution results, and audit logs. Raw files or sensitive data are not stored on the server.
-
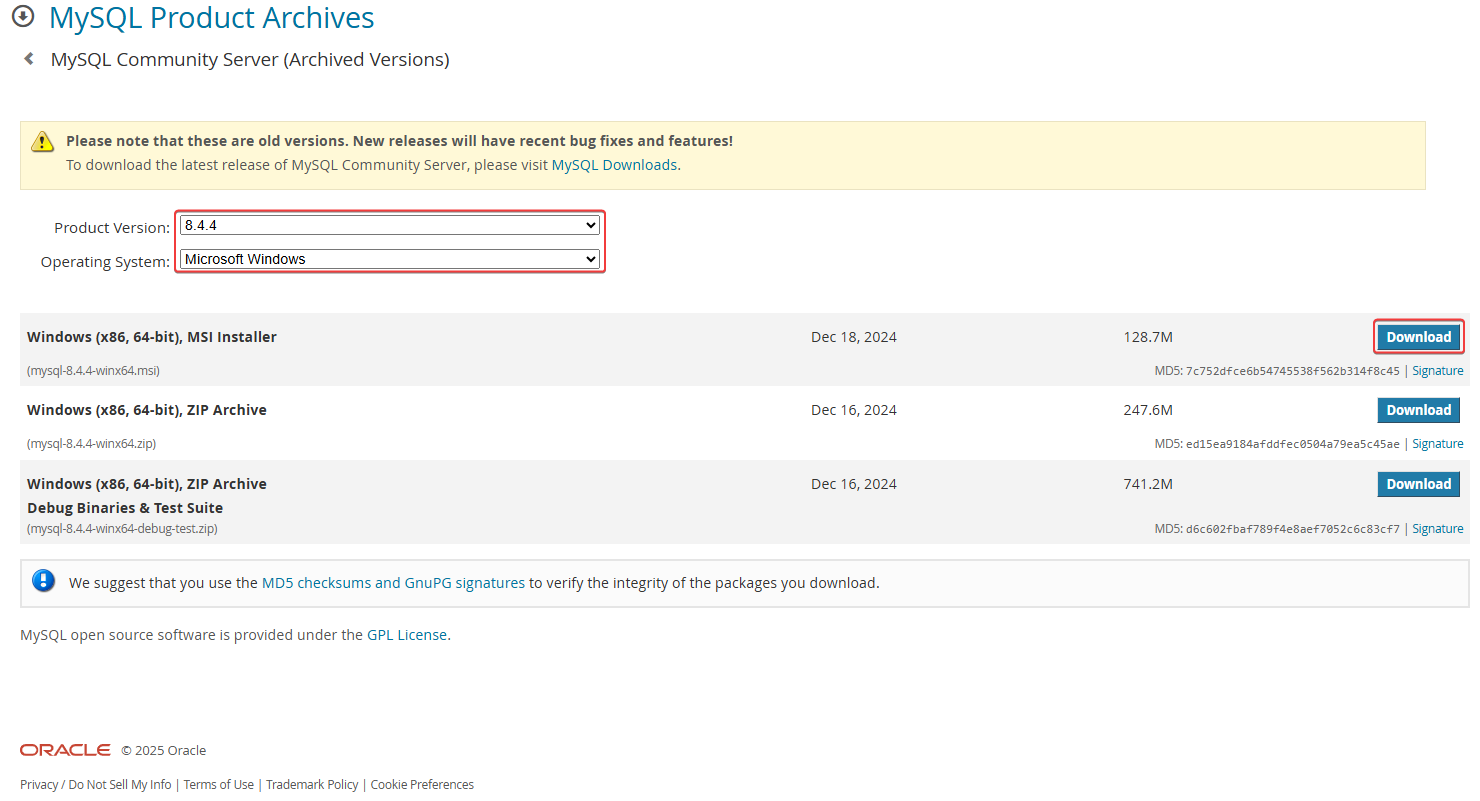
Visit MySQL and configure the Product Version (version 8.4.4 or above needed) and Operating System.
-
Click Download on the MSI installer.
-
Locate the MSI installer, double-click to launch the MySQL Server Setup, and click Next.
-
Read and accept the End User Licence Agreement (EULA) and click Next.
-
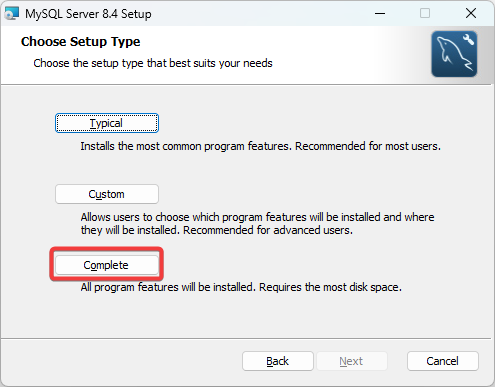
When selecting the setup type, you have the option to choose between:
|
Typical |
Installs the server, client, and essential tools quickly. Provides everything DISCOVER needs without extra components. |
|---|---|
|
Custom |
Lets you select only required components (server + client). Useful if you want to reduce disk usage, omit unnecessary tools, or deploy on a constrained system. |
|
Complete |
Includes all optional components, sample databases, and documentation. Larger footprint. |
-
Select either Typical or Complete and click Next.
-
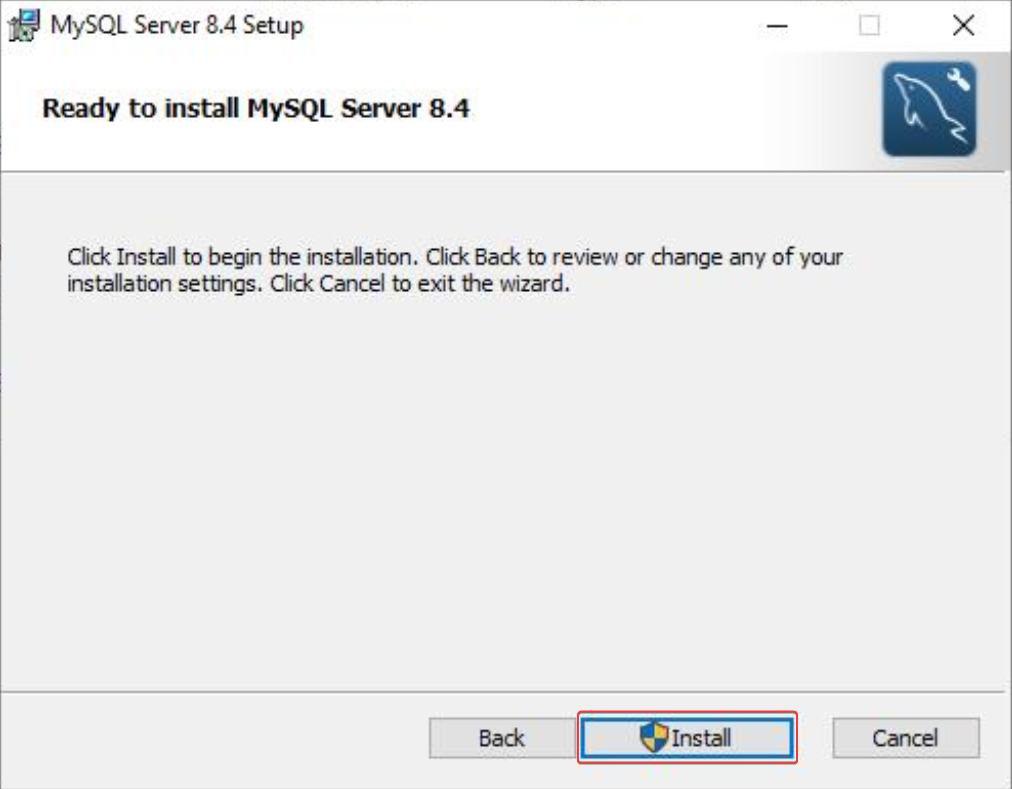
Click Install to begin the installation.
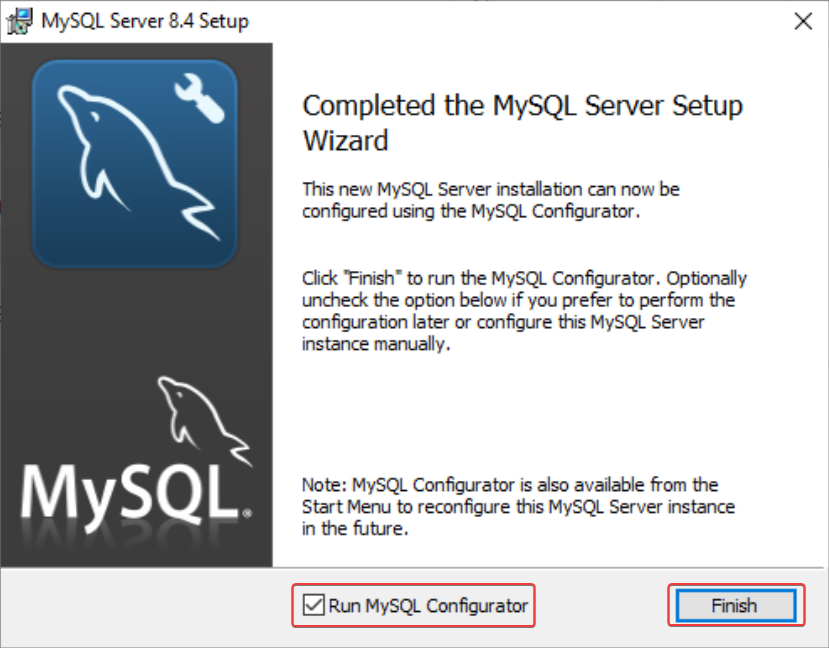
-
Select Run MySQL Configurator if you wish to automatically launch the MySQL Configurator immediately after clicking Finish.
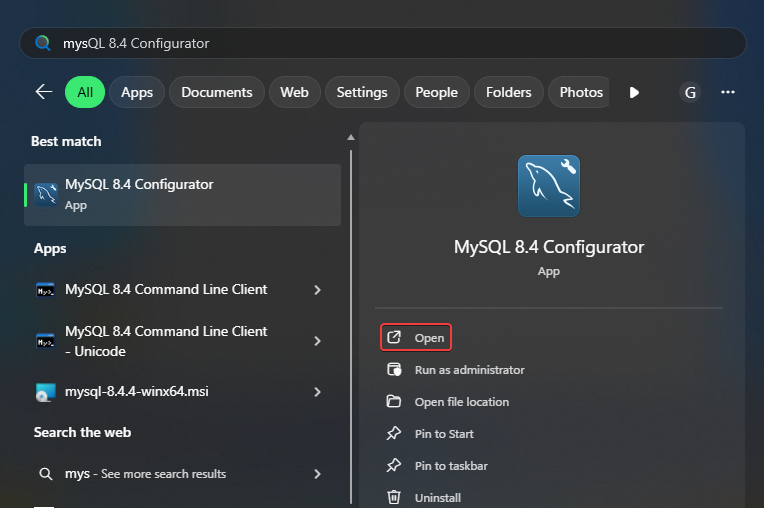
-
If you did not select the Run MySQL Configurator on MySQL Server Setup, search MySQL Configurator from Search and click Open to launch it.
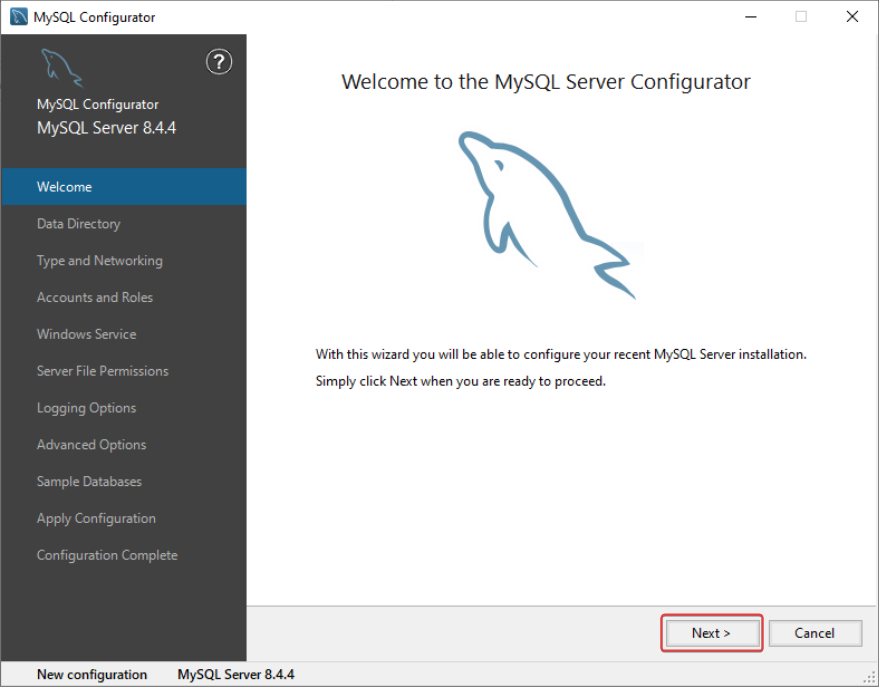
-
Click Next on the Welcome screen.
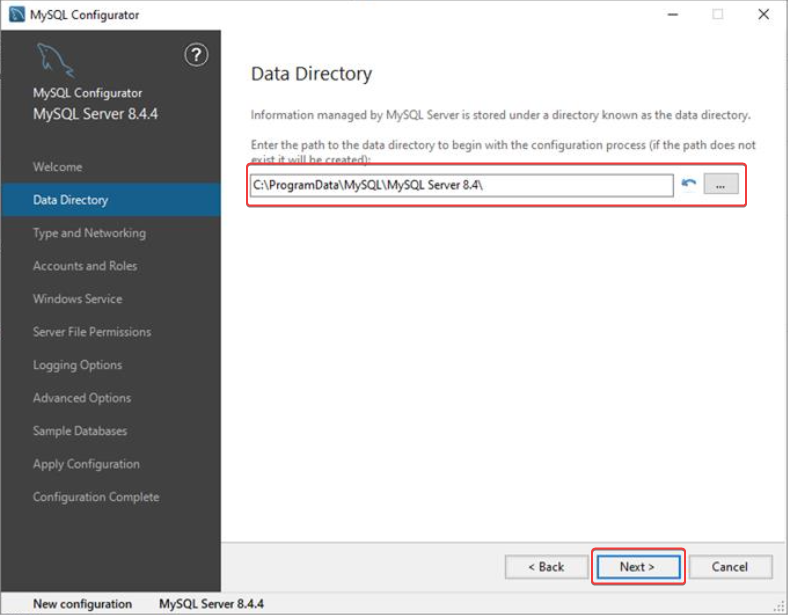
-
Select a path to the data directory. You can browse the path by clicking the button beside the dialogue box. Click Next.
-
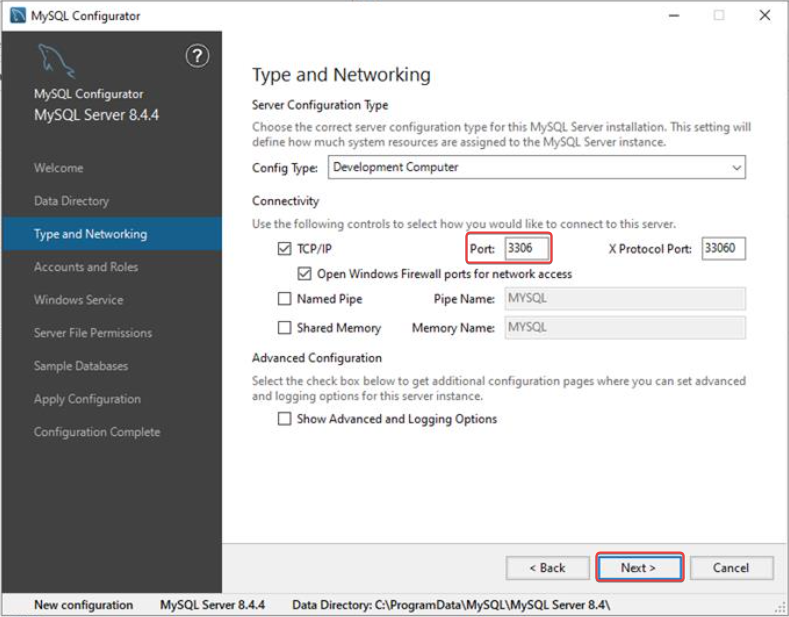
In the Type and Networking window, keep the default settings and note down the assigned port number. Click Next.
-
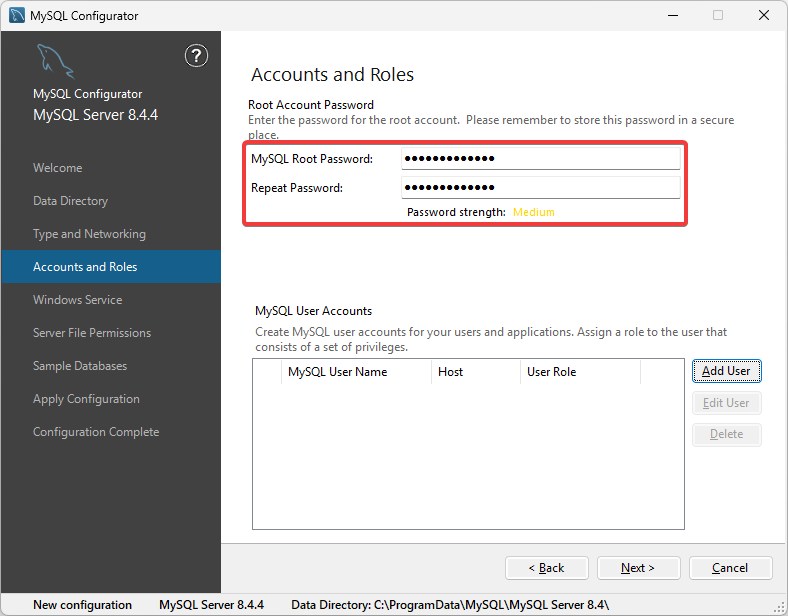
Set a password for the root account and click Next.
-
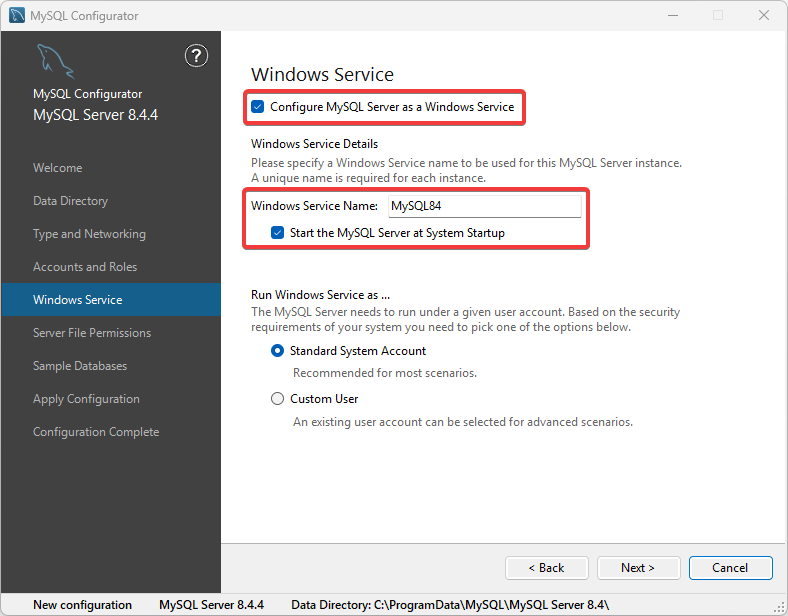
In Windows Service, enable Configure MySQL Server as a Windows Service and Start the MySQL Server at System Startup.
-
Adjust file permission settings as required for your environment, and click Next.
-
Skip the sample database creation and click Next.
-
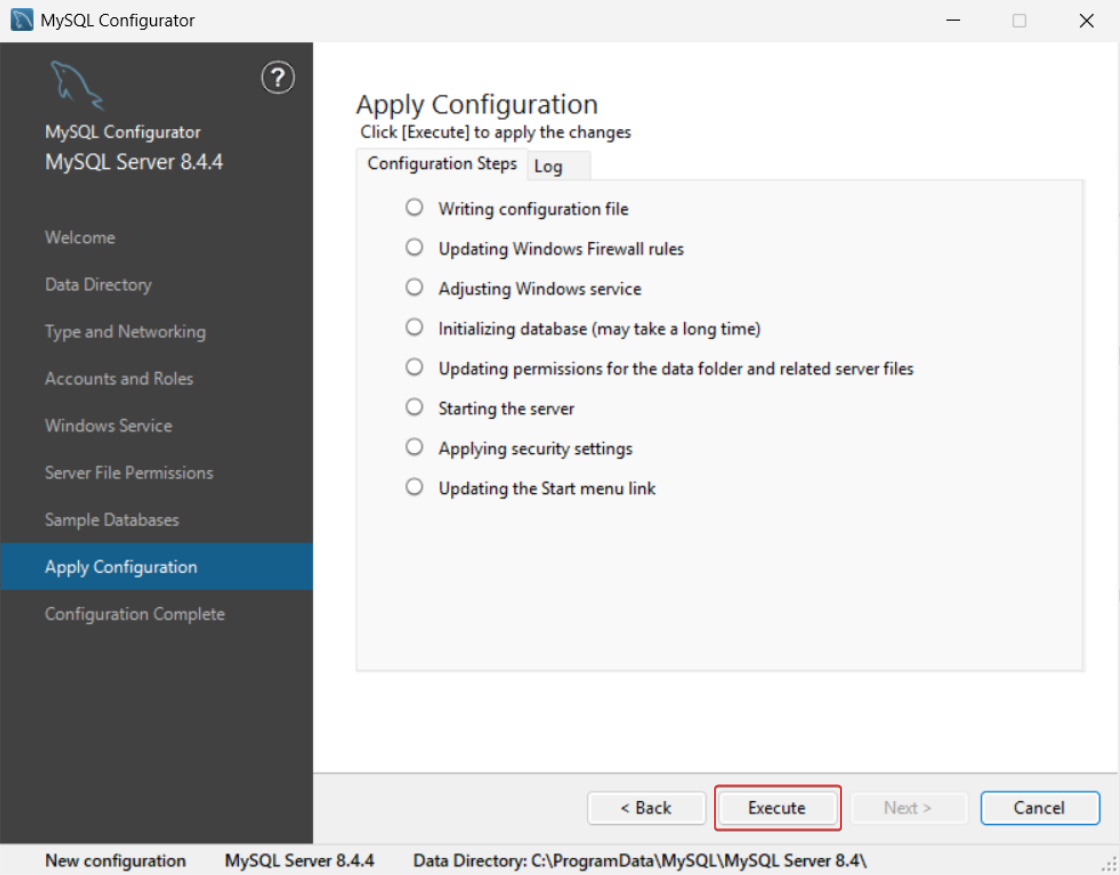
Review the configuration summary and click Execute to apply the configurations.
-
After configuration completes, click Finish to exit the configurator.
6. Install Redis
The DISCOVER server requires Redis for caching, a dependency necessary for the backend to run reliably.
-
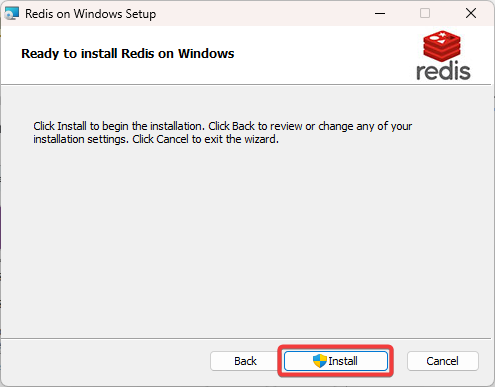
Double-click to launch the Redis on Windows Setup, and click Next.
-
Read and accept the EULA and click Next.
-
Select the Redis installation directory, select the Add the Redis installation folder to the PATH environment variable, then click Next.
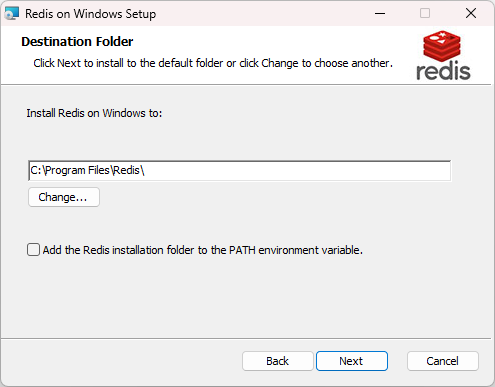
Ensure that the Add the Redis installation folder to the PATH environment variable is selected before proceeding.
-
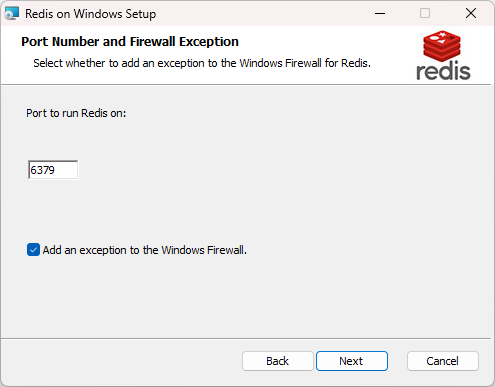
Enter the desired port number or leave the default value. Click the Add an exception to the Windows Firewall to create a firewall rule in Windows Defender Firewall that allows inbound network traffic to the Redis server’s default port. Click Next.
-
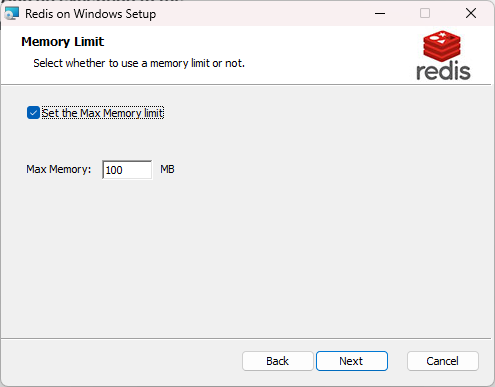
Choose whether to set a memory limit to restrict the maximum amount of RAM Redis can consume for storing in-memory data. By default, it is set to 100MB (1024MB recommended). Click Next.
-
Click Install to begin the installation.
7. Install the GuardWare DISCOVER Server
The GuardWare DISCOVER Server Setup prepares the runtime environment for DISCOVER and connects to MySQL.
-
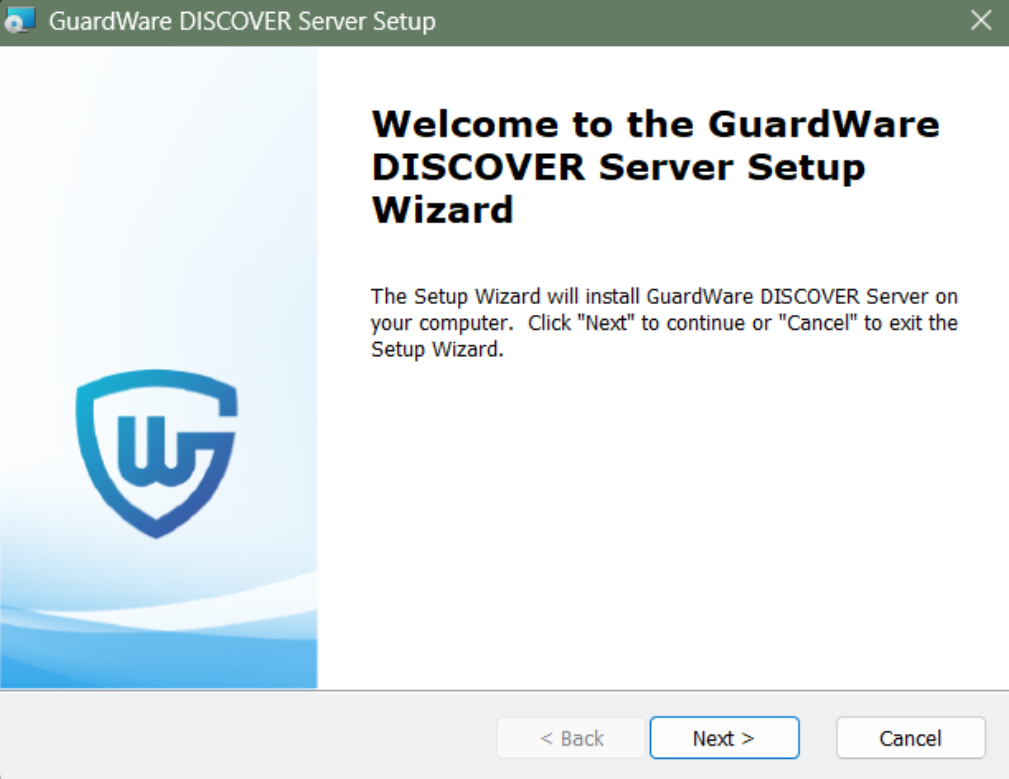
Double-click to launch the GuardWare DISCOVER Server Setup Wizard and click Next.
-
Read and accept the EULA and click Next.
-
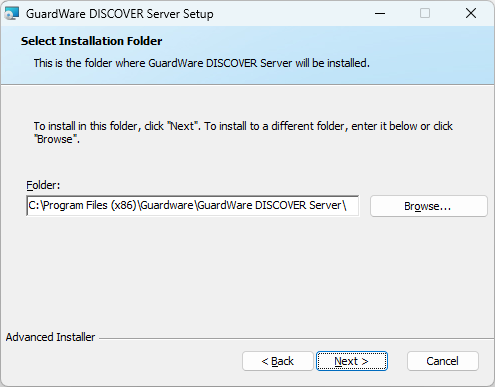
Choose a folder to install the DISCOVER Server and click Next.
-
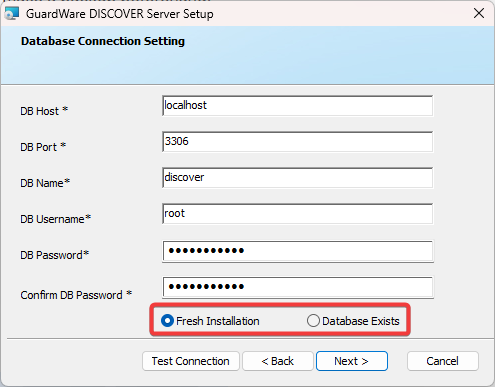
On the Database Connection page, enter the credentials that you entered when configuring MySQL:
-
DB Host, DB Port (default is 3306), DB name (existing or a new database name), DB Username (default is root), and Password.
-
Select Fresh Installation to create a new database with a clean schema. Make sure the DB Name is unique to avoid conflicts with any existing MySQL databases.
-
If upgrading the server, enter an existing database name and select 'Database Exists' to connect DISCOVER to an existing MySQL database and update its schema. As this option may modify or remove existing data, make a backup of the database beforehand.
-
Click Test Connection to check whether the entered information is valid or not.
-
Entering a new DB Name (one that does not already exist), selecting Fresh Installation or Database Exist, and clicking Test Connection automatically creates a new database and verifies the connection.
-
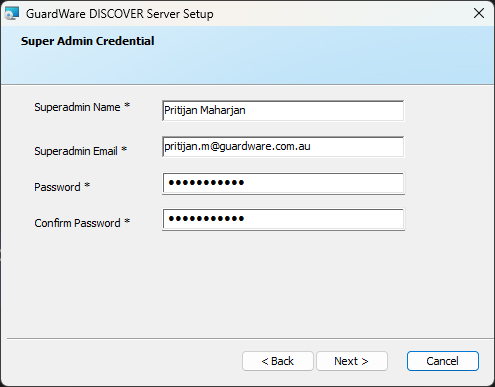
Enter the Super Admin’s name, email, and password, and click Next.
These credentials will be required to log in to the DISCOVER Management Console, so store them securely.
-
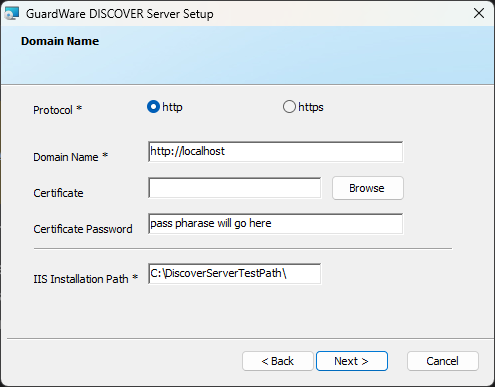
Select the HTTPS protocol and give the domain a name that you would like the IIS to access. You can have the following domain name formats:
localhost
https://your.domain.name
If you do not have an SSL certificate ready, pause here and create a self-signed SSL certificate from PowerShell or have one issued by a Certificate Authority and then have it exported in a .pfxformat. After that is ready, continue from here.
When selecting HTTPS, you must bind an SSL certificate in IIS for encrypted communication.
If the certificate file (e.g.,.pfx) was exported with a password, you must enter the same password in the Certificate Password section when attaching the certificate during server setup. This password is required to unlock and decrypt the private key contained within the certificate file.
Select the location where you want to install IIS, and then click Next.
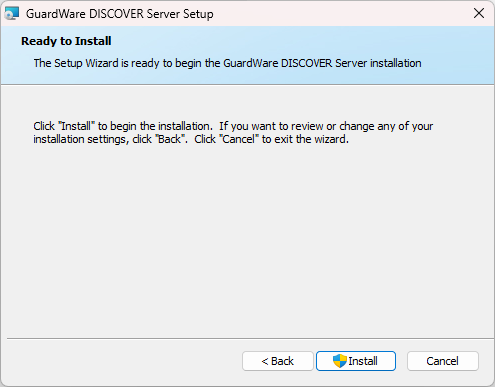
-
Click Install to begin the installation.
7.1 Bind Self-Signed SSL Certificate to IIS
If you created the SSL certificate in PowerShell and exported it in .pfx format, you will need to bind it to the IIS to enable HTTPS access. By default, IIS does not automatically bind certificates; therefore, this step is required.
-
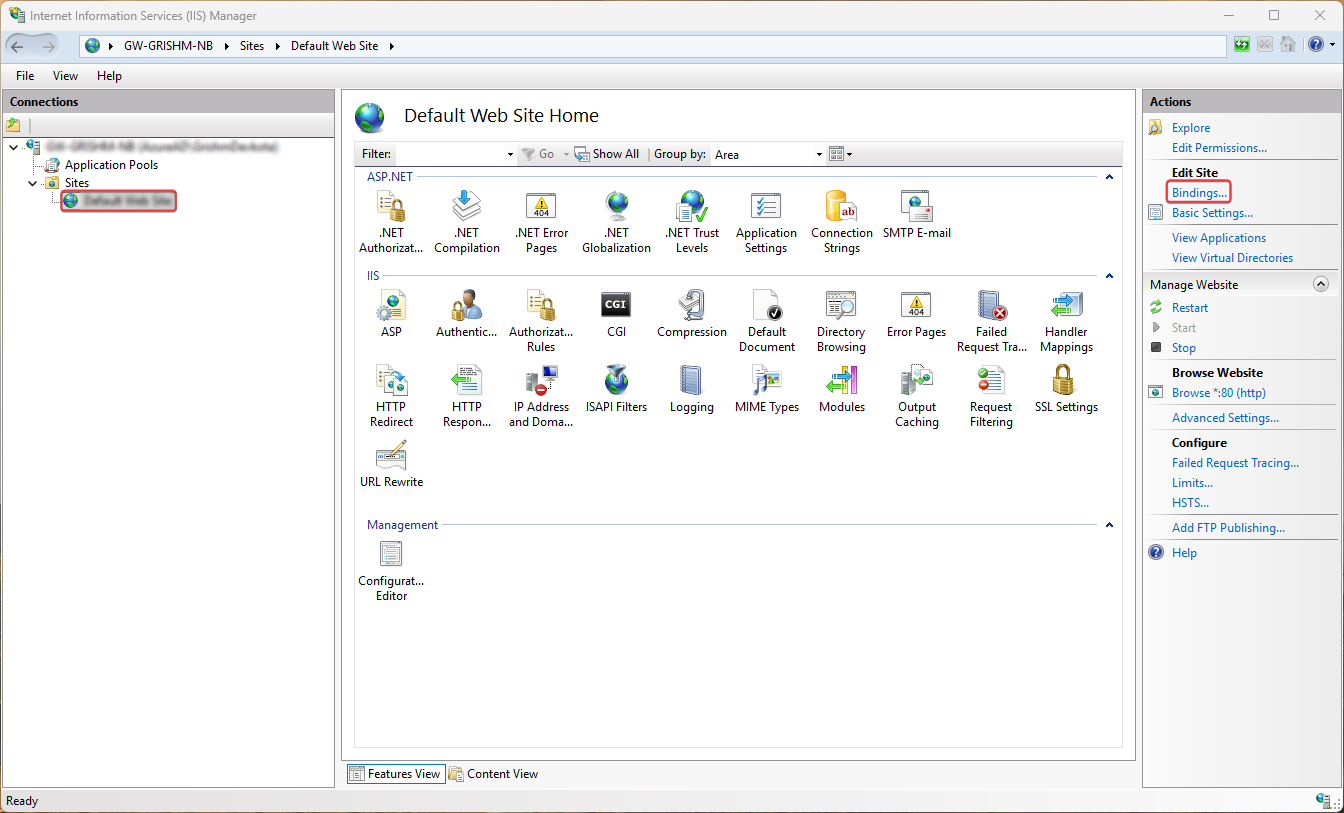
Press the Windows key, type Internet Information Services (IIS) Manager, and press Enter.
-
In the left Connections pane, expand your server name and expand Sites to see all hosted websites.
-
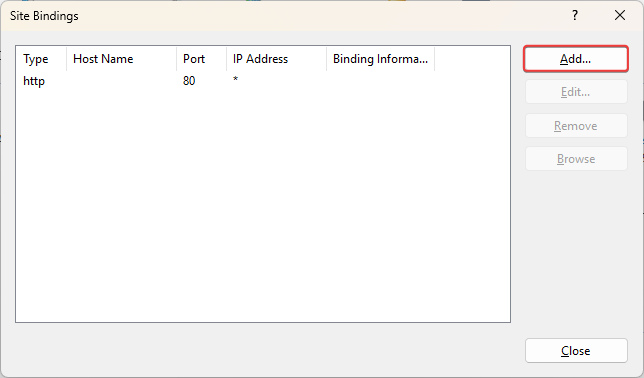
Select the hosted site you want to bind the SSL certificate to and click Bindings… in the rightmost pane.
-
Click Add.
-
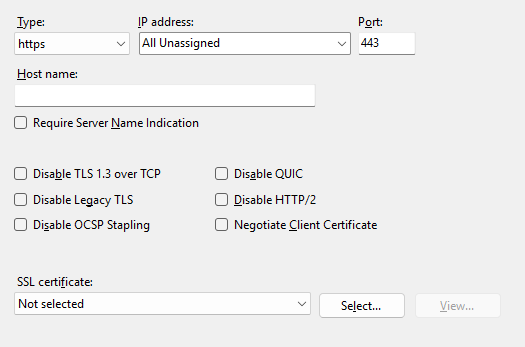
In Type, select https from the drop-down.
-
In IP address, select from either All Unassigned, IP Address, or IPv6 address.
|
Option |
Description |
When to Use |
|---|---|---|
|
All Unassigned |
Default option. The site accepts requests on any IP address configured on the server for the specified port (e.g., 443 for HTTPS). |
When hosting a single HTTPS site or using SNI for multiple SSL sites on one IP. |
|
Specific IP Address |
Binds the site to a particular IP address assigned to the server. The site will only respond on that IP. |
When hosting multiple SSL sites, each with its own dedicated IP address. |
|
IPv6 Address |
Displays IPv6 addresses if your server supports them. Works the same way as IPv4 bindings. |
When using IPv6 networking or dual-stack (IPv4 and IPv6) configuration. |
-
Leave the Port value as is, and in the Host name field, enter the domain name for your site.
-
Select the appropriate SSL Certificate from the drop-down and click OK.
-
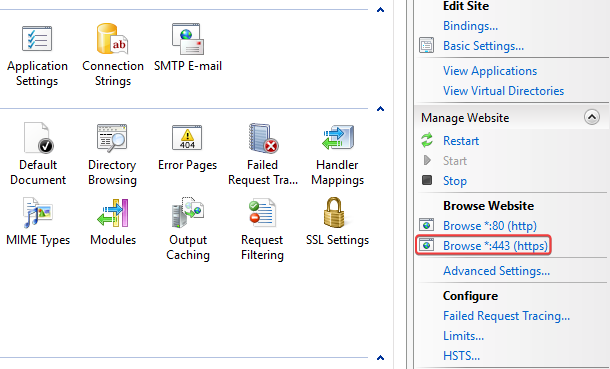
To test whether the binding is successful, close the Site Bindings window.
-
On the rightmost pane, under Browse Website, click the https site; it will open in a new browser window.
8. Install the IIS URL Rewrite Module
The IIS URL Rewrite Module is an add-on for Internet Information Services (IIS) that allows you to create rules for manipulating URLs, such as rewriting requests internally, redirecting traffic, enforcing HTTPS or canonical domains, and mapping clean, user-friendly URLs to backend query strings.
The module ensures that all incoming requests are routed through index.php, enabling proper handling of application paths and APIs.
-
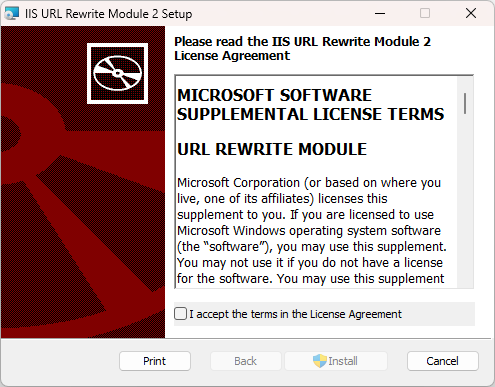
Double-click to launch the IIS URL Rewrite Module Setup file.
-
Read and accept the license agreement.
-
Click Install to begin the URL rewrite process.
-
Click Finish to exit the Setup Wizard.
9. Log into the Management Console
The Management Console is the web-based interface for GuardWare DISCOVER, where administrators can manage scans, view scan results, and perform remediation tasks. To access it:
-
Navigate to the DISCOVER Management Console from a web browser. The exact URL depends on how the DISCOVER Server was configured during the server setup.
|
Access Method |
URL Format |
Notes |
|---|---|---|
|
Local access on the server |
|
Use this when accessing DISCOVER directly on the server. |
|
Access via configured domain |
|
Requires the domain to resolve to the DISCOVER server’s IP via DNS or hosts file. |
-
Log in using the Super Admin credentials created during installation.
-
On first login, configure Two-Factor Authentication:
-
Scan the QR code with an authenticator app (Google or Microsoft).
-
Enter the generated verification code.
-
-
Update your password as prompted to complete initial setup.