1. Overview
GuardWare DISCOVER is a data discovery and remediation system designed to locate, classify, and protect sensitive information across an organisation’s digital environment. It identifies sensitive data, such as Personally Identifiable Information (PII), Payment Card Industry (PCI) data, and other regulated information, notifies relevant data owners, and initiates remediation to reduce exposure.
In agentless deployments, the DISCOVER Agent can be deployed on a dedicated host or virtual machine, from which it establishes remote sessions with target systems over supported protocols (SSH, SMB, or WinRM) and with Microsoft 365 services via the Graph API using OAuth 2.0. After scanning, the Agent securely transmits results and activity logs to the Management Console for centralized monitoring and reporting.
This guide outlines the system requirements, installation procedures, and verification steps for deploying and configuring the DISCOVER Agent, including registration in Microsoft Entra ID to enable secure access to Microsoft 365 services and setup for remote agentless scanning.
2. System Requirements
Ensure the device meets the following system requirements before installing the DISCOVER Agent:
|
Component |
Requirements |
|---|---|
|
Processor |
8 cores or more |
|
RAM |
16 GB |
|
Disk Space |
500 GB |
|
OS |
Windows 10, Windows 11, Windows Server 2019+ |
3. Install the DISCOVER Agent
-
Obtain the preconfigured
.msifile from your GuardWare administrator, and place it in a directory or folder of your desired virtual machine or host device. Double-click it to launch it. -
Select Next and click Install.
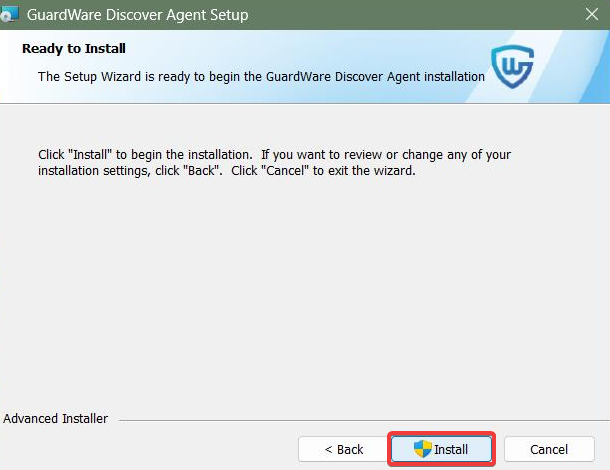
The GuardWare DISCOVER Agent installs silently and runs in the background.
To check whether the Agent is running, launch Task Manager (Ctrl + Shift + Esc), then search for GuardWare Scan Utility in the Background processes section.
4. Configure Access to Microsoft Services
To scan Exchange Online and SharePoint Online, the DISCOVER Agent must first be registered in Microsoft Entra ID (formerly Azure AD), which provides the Tenant ID, Client ID, and Client Secret, authorizing secure access to Microsoft 365 services. Once registered, it can access mailboxes and files to perform scans and remediations.
4.1 Set Up Azure App Registration
-
Log in http://portal.azure.comusing your Microsoft Entra ID (formerly Azure AD) administrator account.
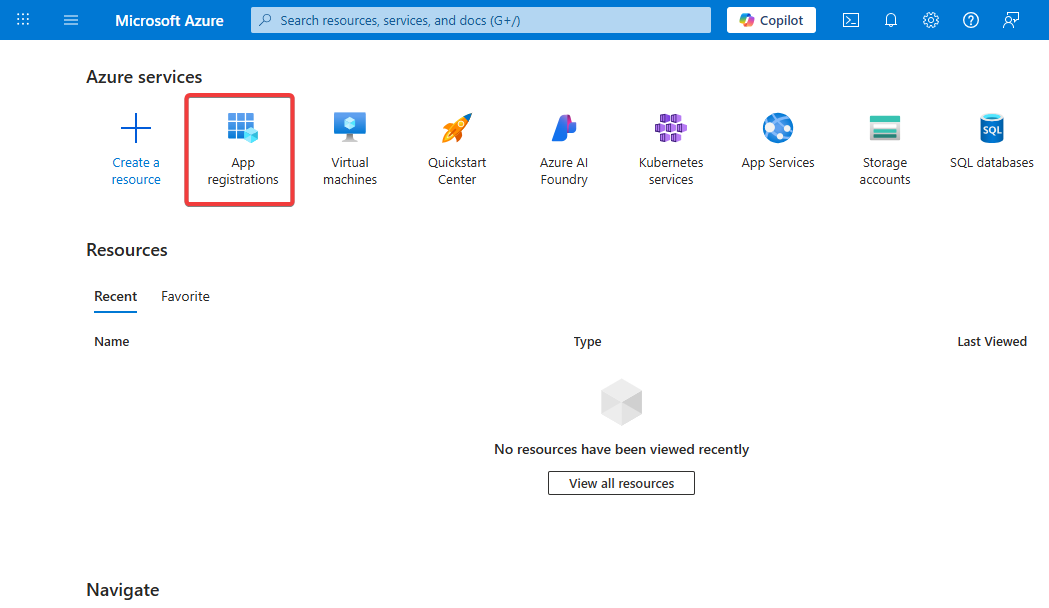
-
Click App registrations. If the App registrations option is not visible on the dashboard, look for it using the top Search bar.
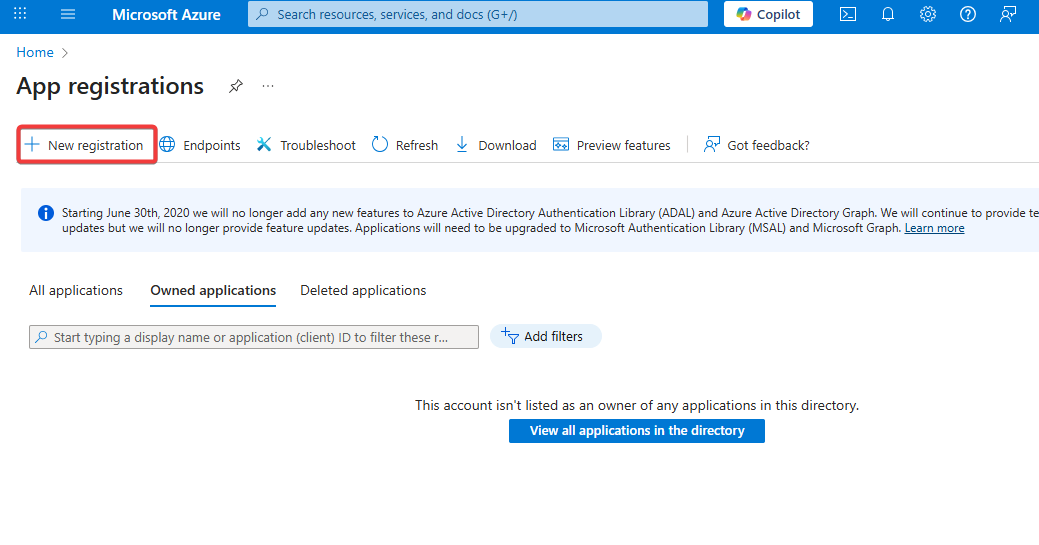
-
Click + New registration.
-
Set the Agent name and select Accounts in this organizational directory only. The name "GuardWare DISCOVER" is used for illustrative purposes only.
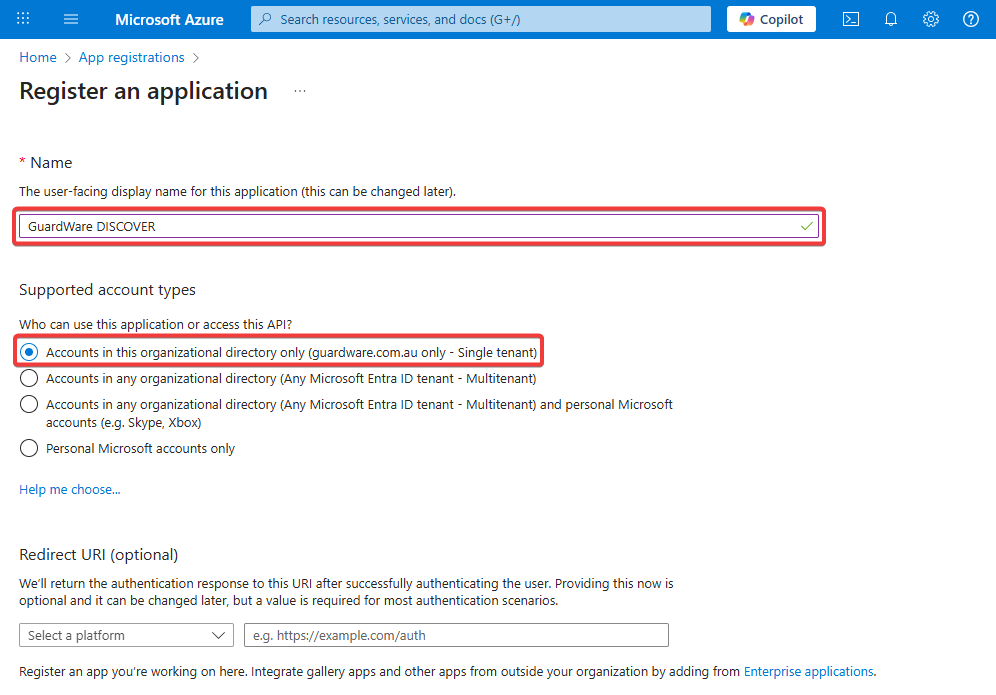
-
Leave the Redirect URI (optional) field empty and click Register.
After registration completes, note down the following values:
-
Agent (Client) ID -
Directory (Tenant) ID
These values are required to configure GuardWare DISCOVER’s connection to SharePoint and Exchange Online; please keep them safe and secure.
-
In the newly registered GuardWare DISCOVER Agent, go to Certificates & Secrets.
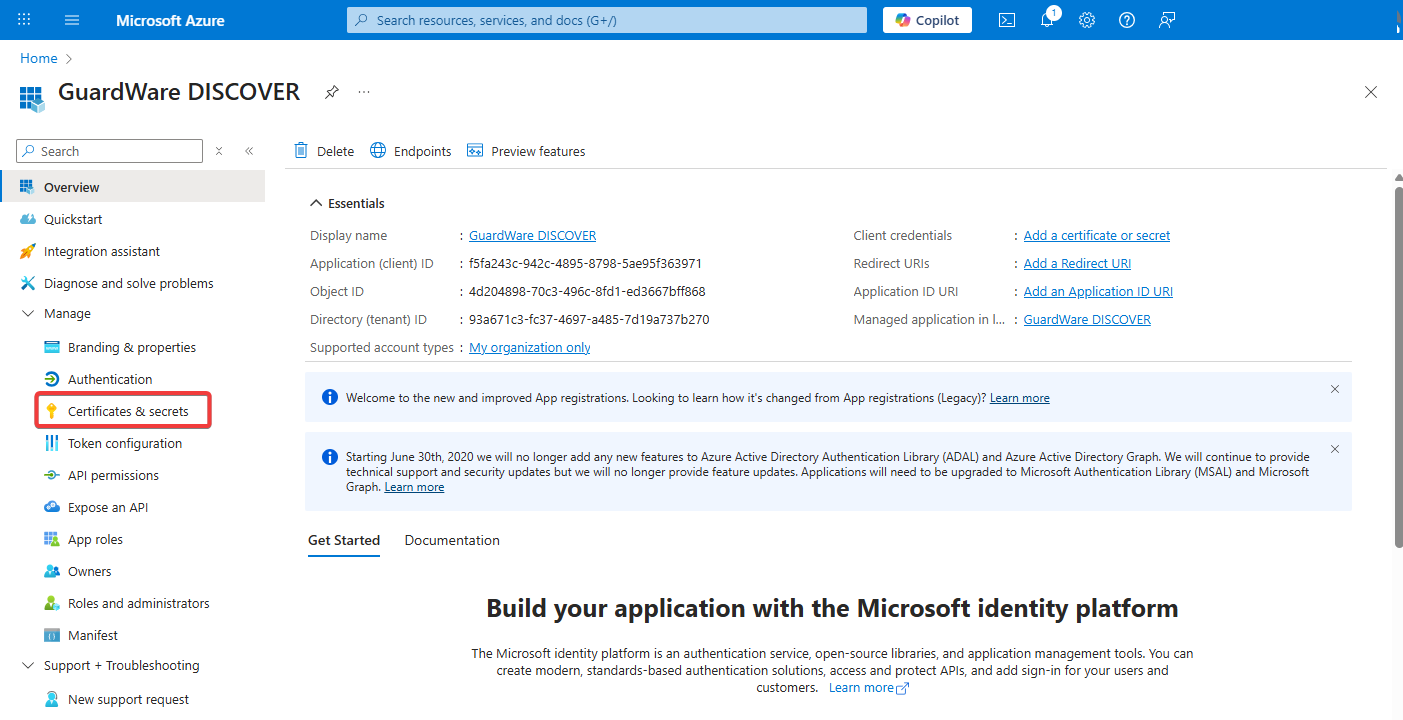
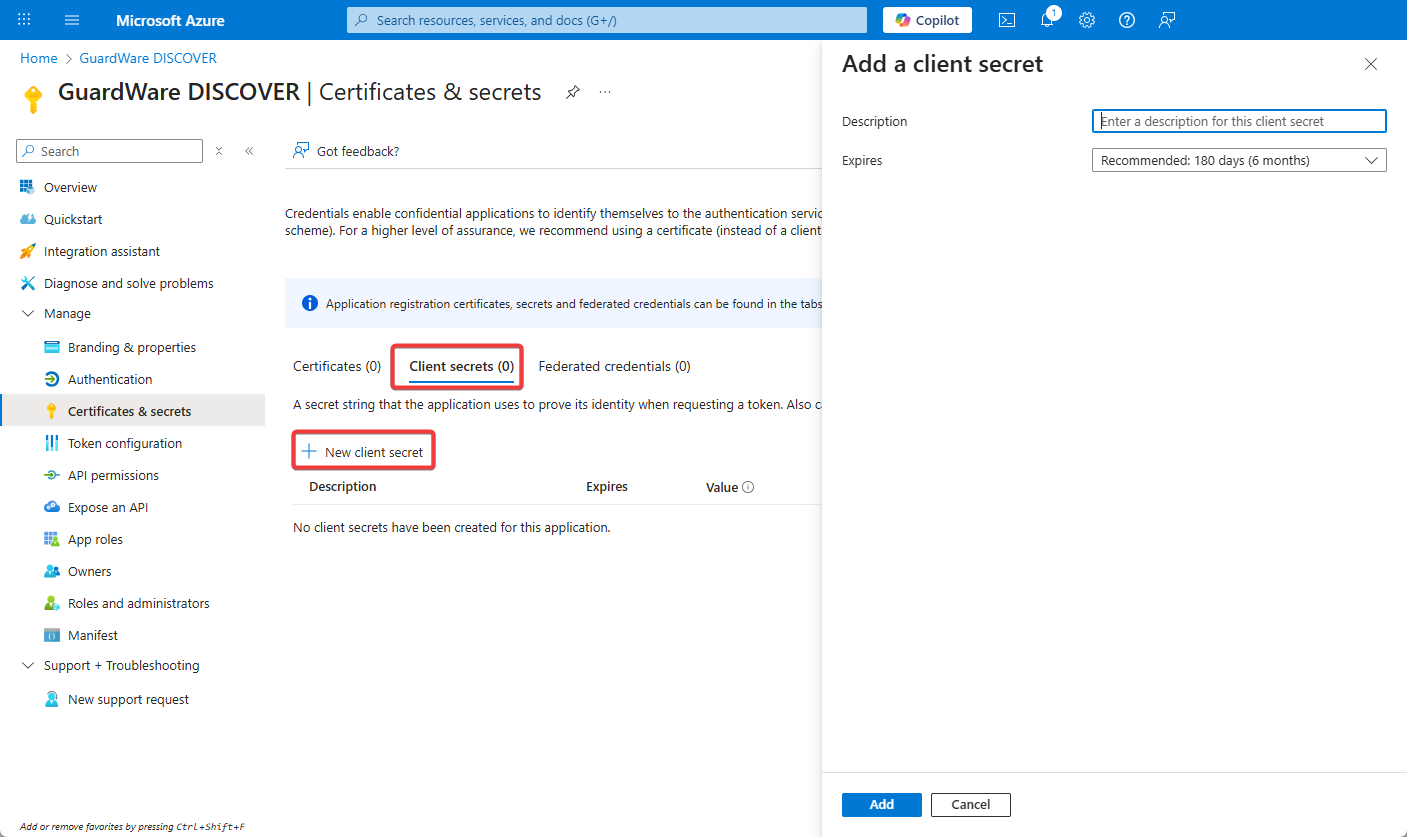
-
Under the Client Secrets tab, click + New client secret.
-
Enter the Description (optional), set the Expires, and click Add.
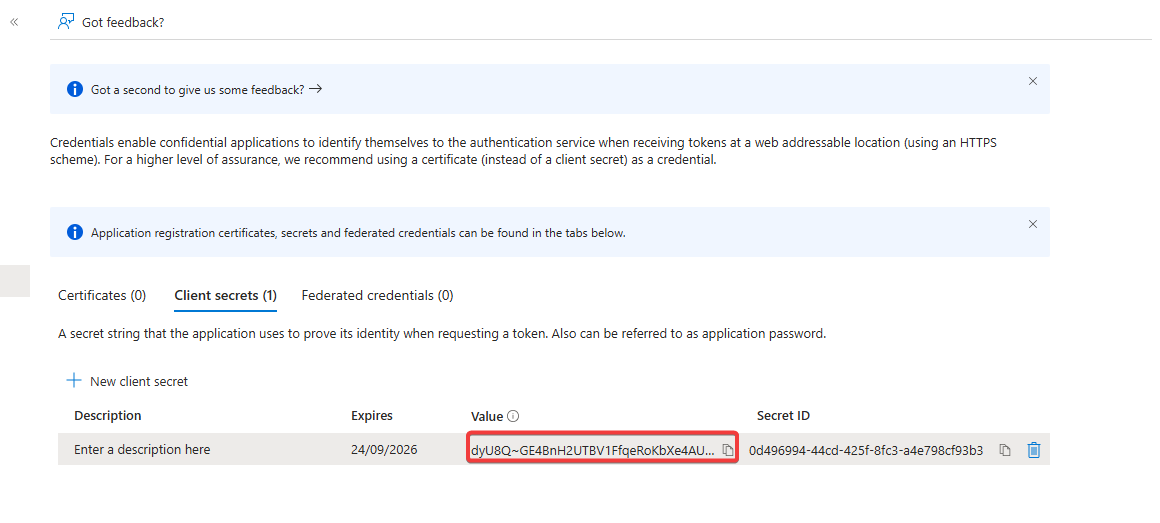
-
Once the secret is generated, copy the Value (not the Secret ID) and store it securely.
4.2 Assign Graph API Permissions
Only Global Administrators or Privileged Role Administrators can grant tenant-wide admin consent for Graph API permissions. Ensure you are signed into your https://portal.azure.com account with the appropriate Microsoft Entra ID (formerly Azure AD) administrator account.
-
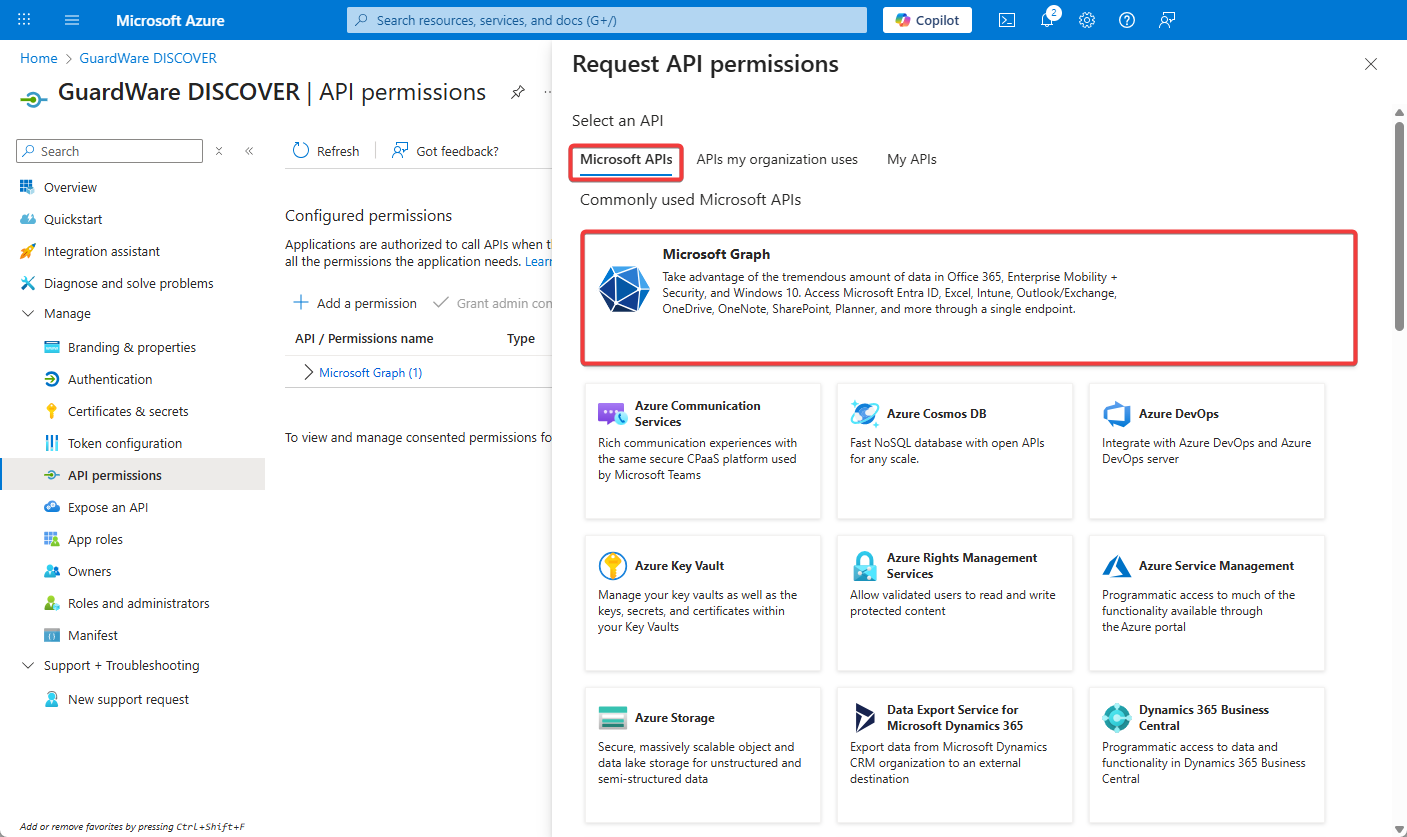
In the newly created Agent, select API Permissions and click + Add a permission.
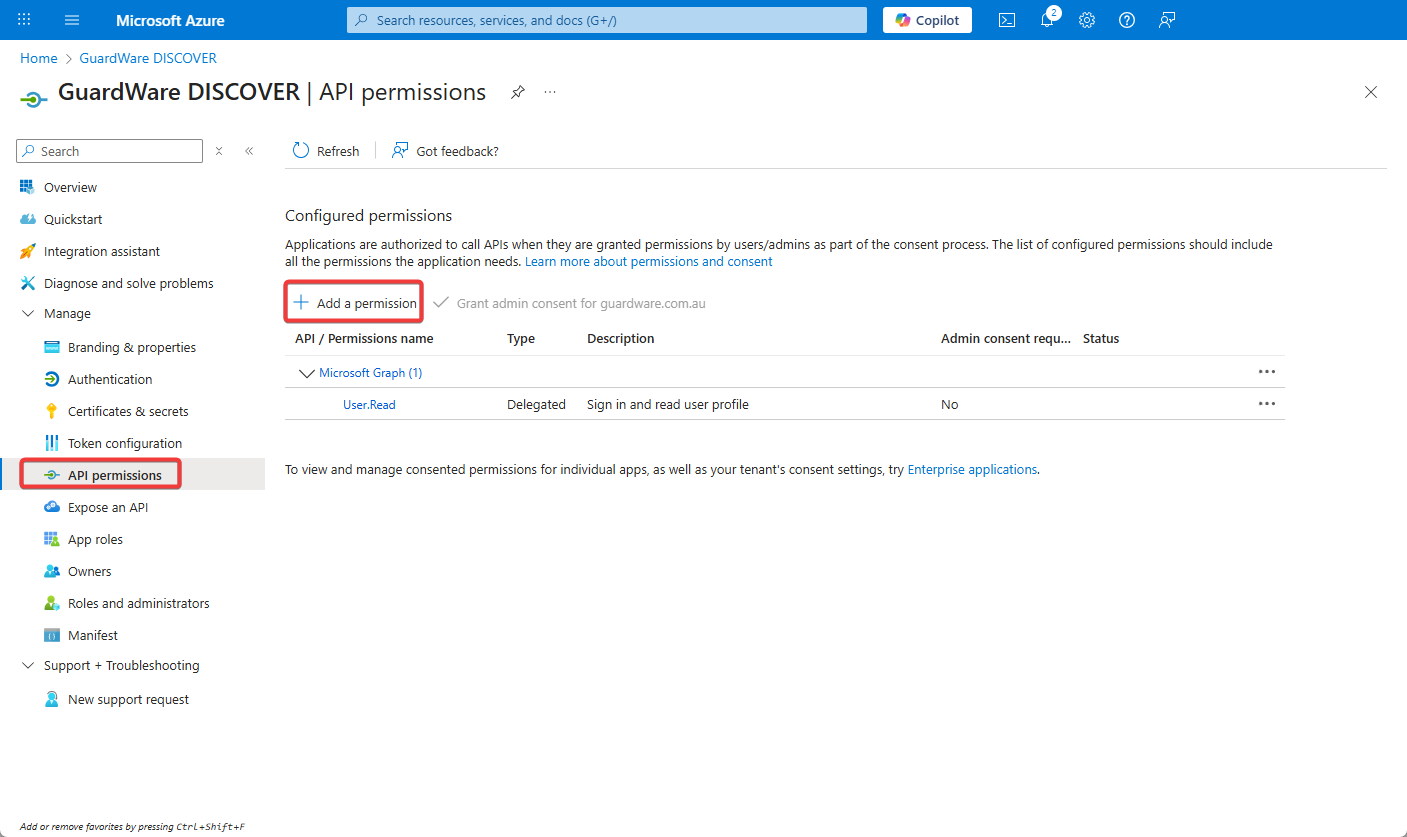
-
Under Microsoft APIs, click Microsoft Graph.
-
Click Agent permissions and from the dropdown, select the following permissions:

|
Permission |
What It Allows |
|---|---|
|
Files.Read.All |
Read all files across SharePoint and OneDrive |
|
Files.ReadWrite.All |
Read and write all files across SharePoint for remediation |
|
Group.Read.All |
Read Microsoft 365 group metadata |
|
GroupMember.Read.All |
Read group membership lists |
|
Mail.Read |
Read all mailbox content |
|
Mail.ReadBasic.All |
Read mail headers and metadata |
|
Mail.ReadWrite |
Required to delete/move or mark emails in Exchange Online |
|
MailboxSettings.Read |
Access mailbox rules, auto-replies, etc. |
|
Sites.FullControl.All |
For full access, including management actions |
|
Sites.Read.All |
Read SharePoint site metadata and structure |
|
User.Read.All |
Read all user profiles (name, email, role, department) |
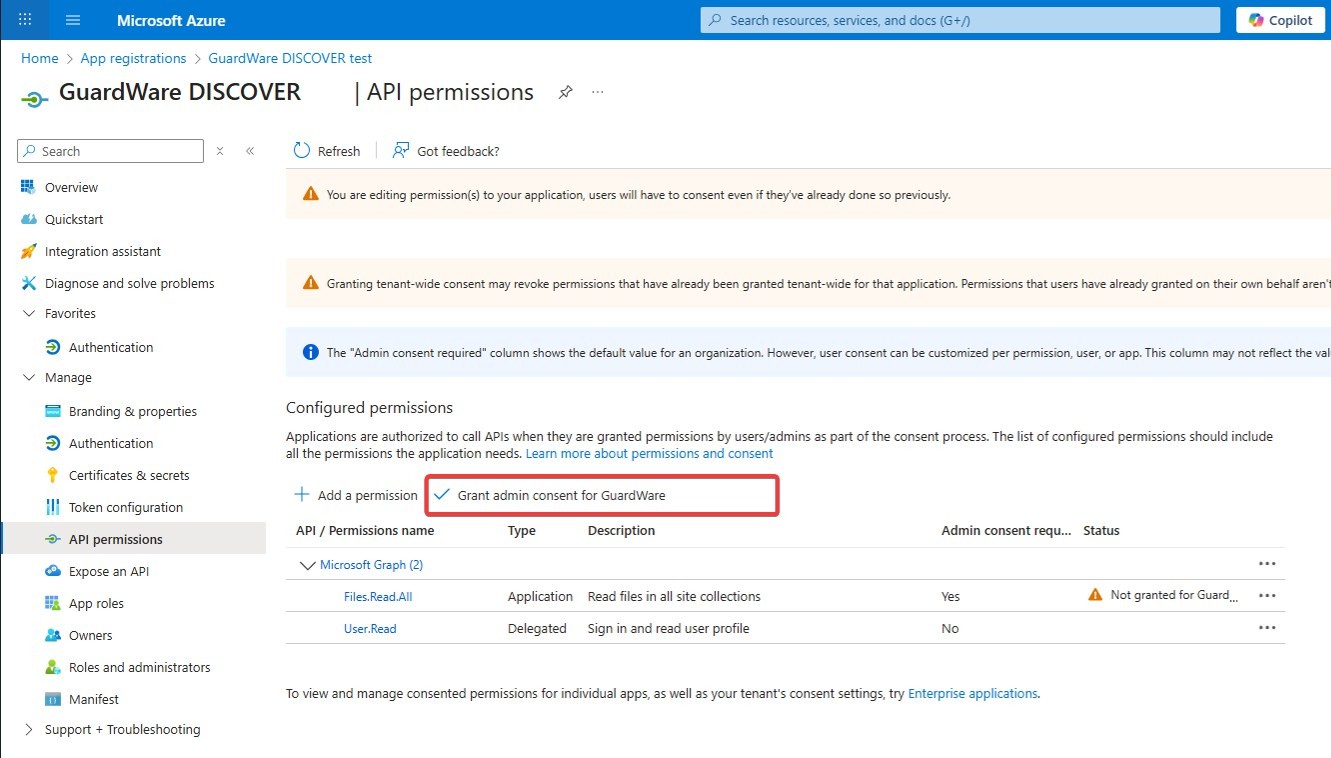
-
Click Add permissions and select Grant admin consent for <your organization> to apply the permissions.
5. Configure Remote Access
GuardWare provides a pre-written PowerShell script to configure remote access for agentless scanning. This script enables required services (WinRM Config.ps1 or OpenSSH Config.ps1), sets permissions, and configures firewall rules.
|
Target / Service |
Protocol |
Port(s) |
Direction |
Purpose / Notes |
|---|---|---|---|---|
|
Windows Endpoints |
WinRM |
5985 (HTTP), 5986 (HTTPS) |
Outbound |
Remote management for scanning. |
|
Other Endpoints |
SSH |
22 |
Outbound |
Remote scanning by the DISCOVER Agent. |
|
File Shares / SMB |
SMB |
445 |
Outbound |
Access to on-premises file shares. |
|
Cloud Services (Exchange/SharePoint) |
HTTPS |
443 |
Outbound |
DISCOVER Agent access to Microsoft 365 via Graph API / SharePoint REST API. |
If you prefer to configure remote access manually, you can refer to the GuardWare DISCOVER Remote Access Configuration Manual Setup.
5.1 Deploy the Script from Microsoft Intune
To deploy the script from Microsoft Intune, ensure that target devices are enrolled in Microsoft Intune with administrative access, are running Windows 10 or 11 (version 1607 or later, excluding Home and S Mode), are joined to Microsoft Entra ID, and have internet connectivity without firewall or proxy restrictions. Devices must also have .NET Framework 4.7.2 or later installed.
-
Open a web browser on your Windows device and go tohttps://endpoint.microsoft.com. Sign in using your administrator credentials.
-
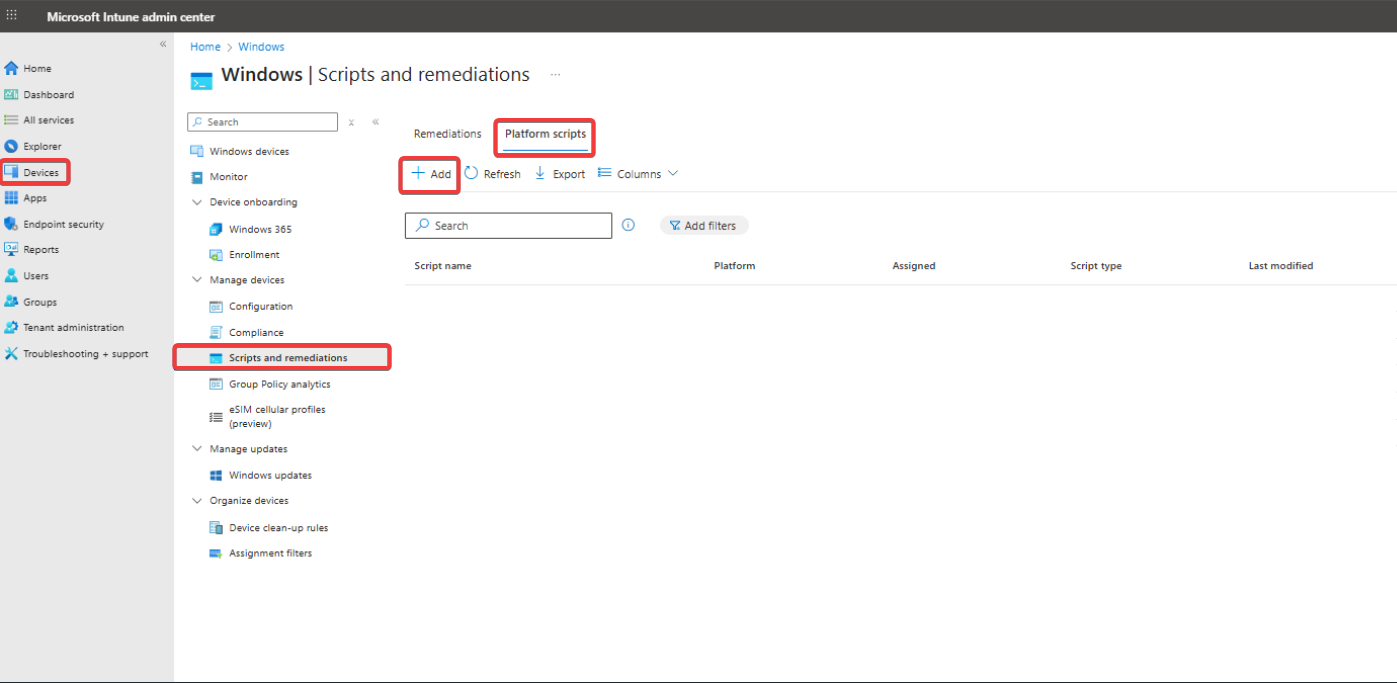
In the left navigation pane, go to Devices > Scripts and remediations > Platform scripts and click +Add.
-
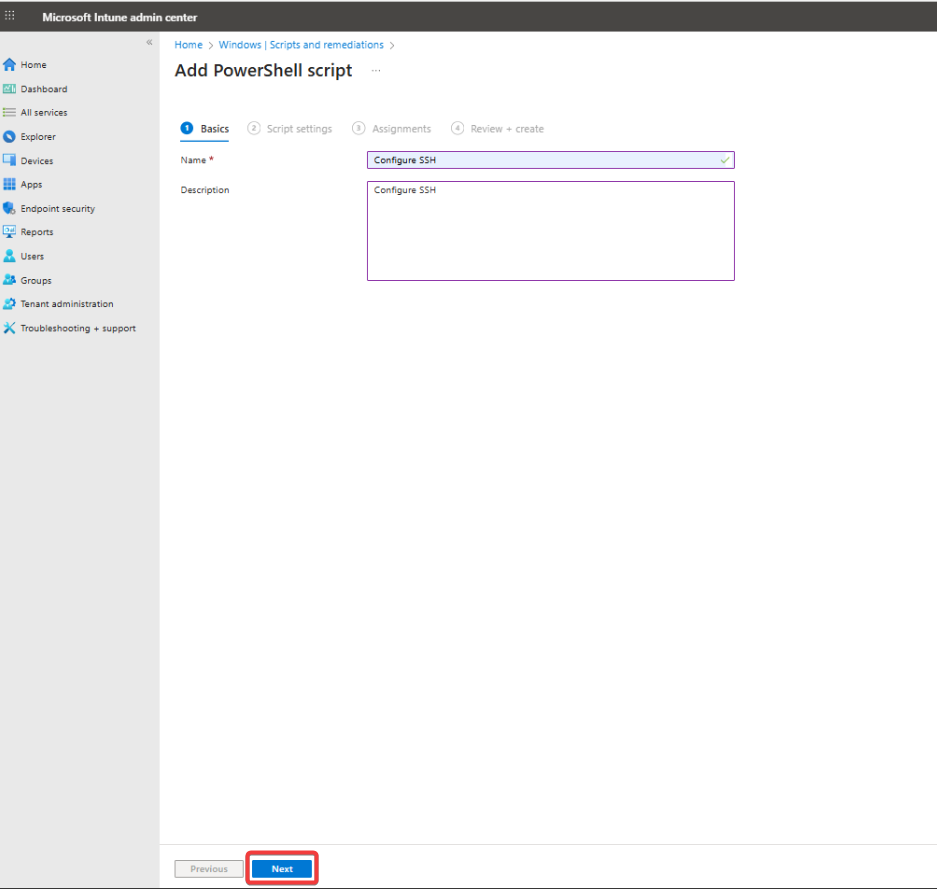
Enter a Name for your script (e.g., Configure SSH), add an optional Description, and click Next.
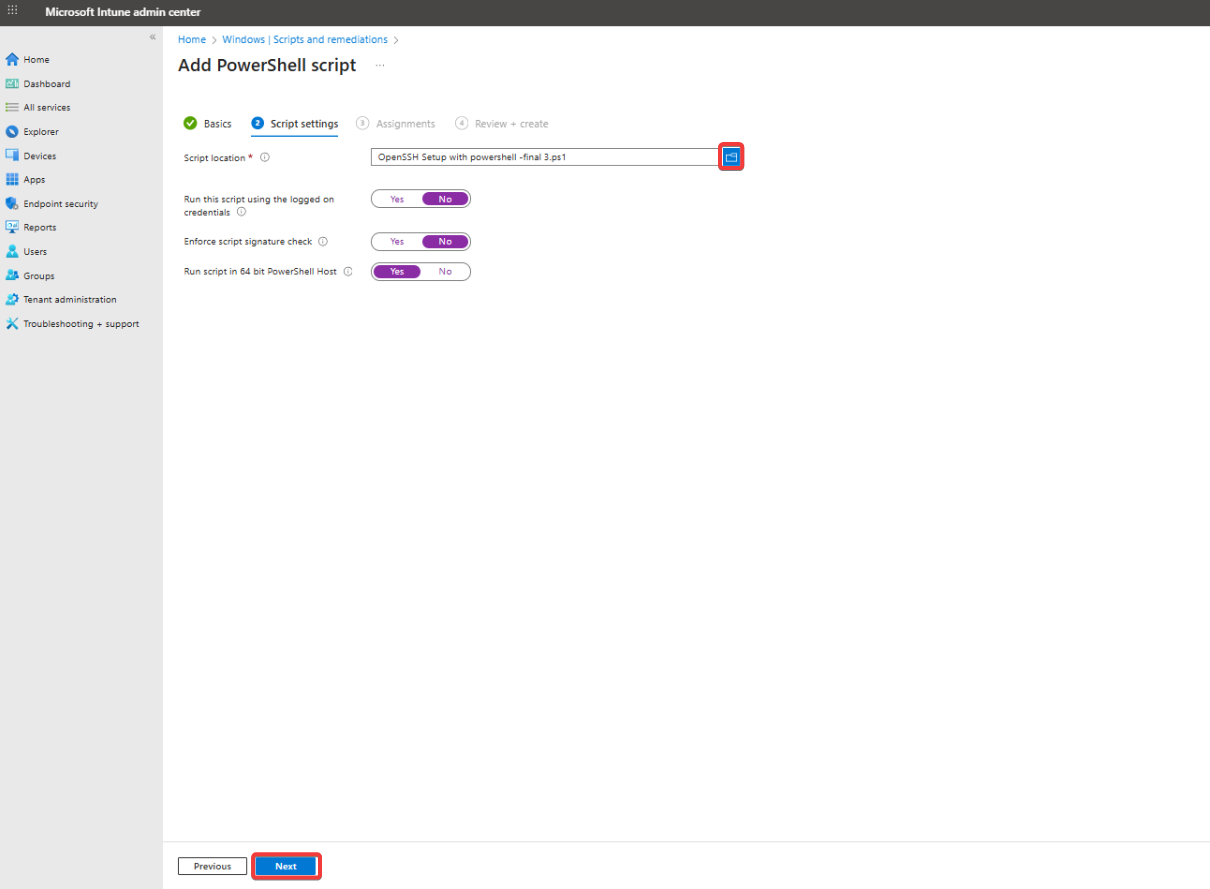
4. Click the folder icon and upload the provided PowerShell script.
-
Set to No to run as System (recommended for admin-level operations like remote access).
-
Enforce script signature check: Enable only if your script is digitally signed.
-
Run the script in 64-bit PowerShell: Set to Yes for most modern systems, then click Next.
-
If your organization uses scope tags for role-based access control, add them here and click Next.
-
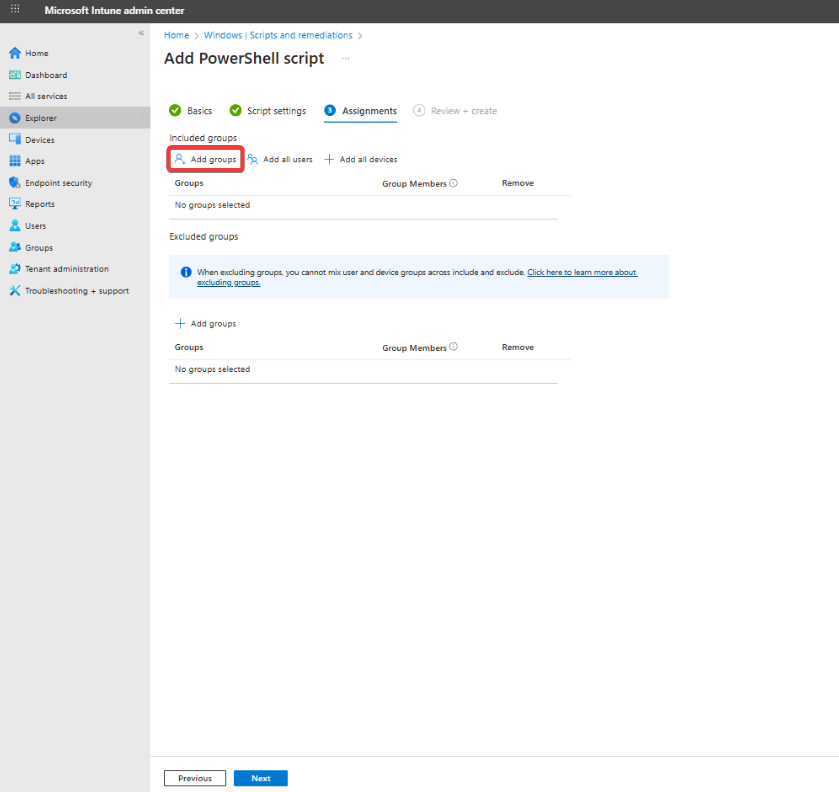
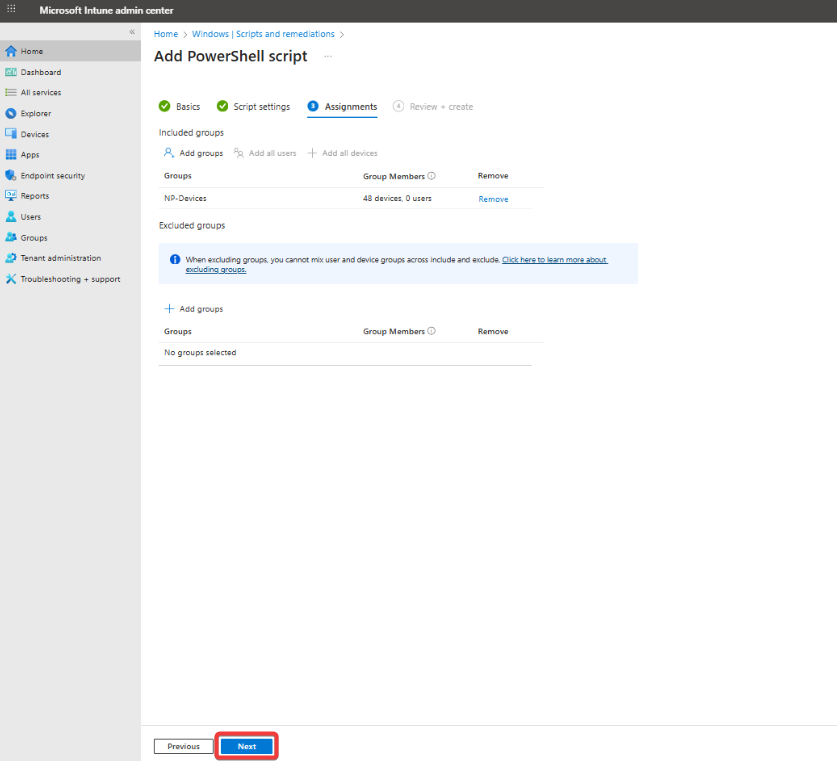
Under Included groups, click Add groups and select the Microsoft Entra ID (formerly Azure AD) user or device groups you want to target (e.g., remote worker devices).
-
Optionally, configure Excluded groups and click Next.
-
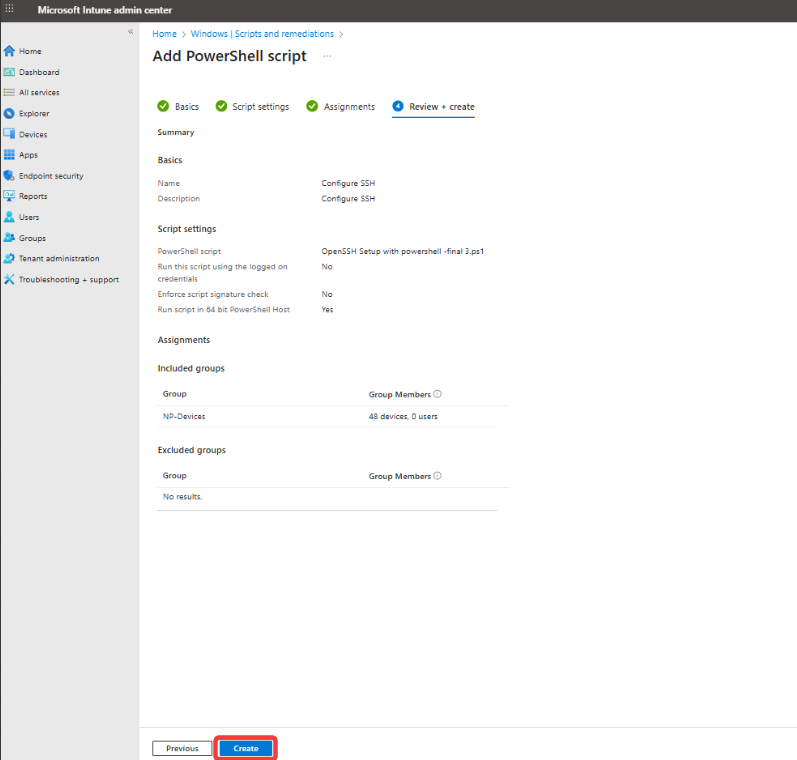
Review your configuration, then click Create to deploy the script.
5.2 Deploy the Script from the Group Policy Management Console (GPMC)
To deploy the PowerShell script using Group Policy, use the Group Policy Management Console (GPMC) to assign the script to Windows devices joined to your AD (Active Directory) domain. The script runs automatically on target devices according to the policy type.
-
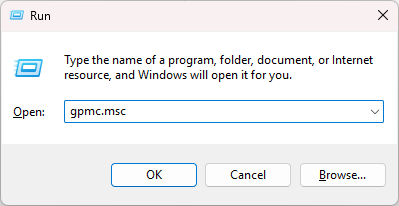
Press Windows + R, type
gpmc.msc, and press Enter to open the Group Policy Management Console (GPMC).
-
In the GPMC console, navigate to the Organizational Unit (OU) that contains the target devices.
-
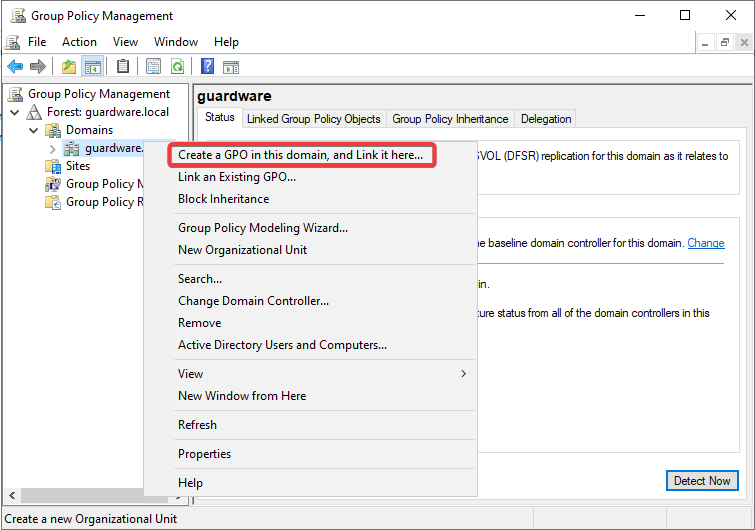
Right-click the OU and select Create a GPO in this domain, and Link it here.
-
Enter a name for the GPO (e.g., Remote Access Configuration) and click OK.

-
Right-click the newly created GPO and select Edit to open the Group Policy Management Editor.

-
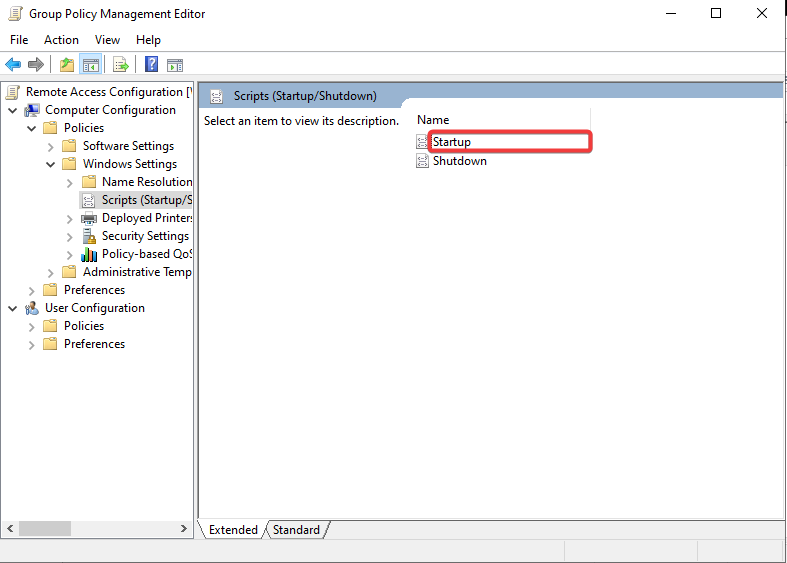
To deploy the script as a Startup script (runs as System), navigate to Computer Configuration > Policies > Windows Settings > Scripts (Startup/Shutdown) > Startup.
-
Click Add, then Browse to select your PowerShell script, or enter the network path if stored on a shared location, and click OK to save.

-
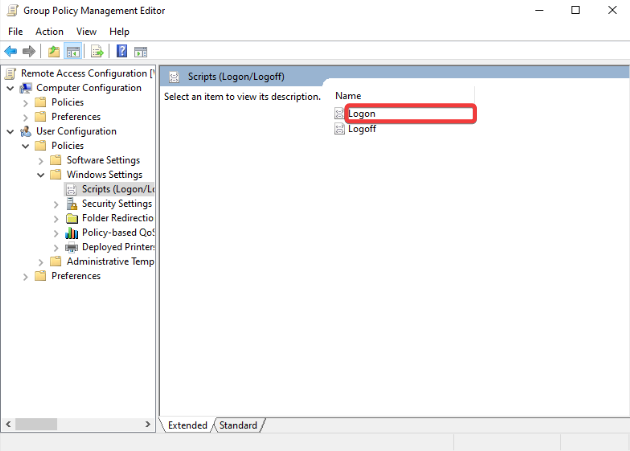
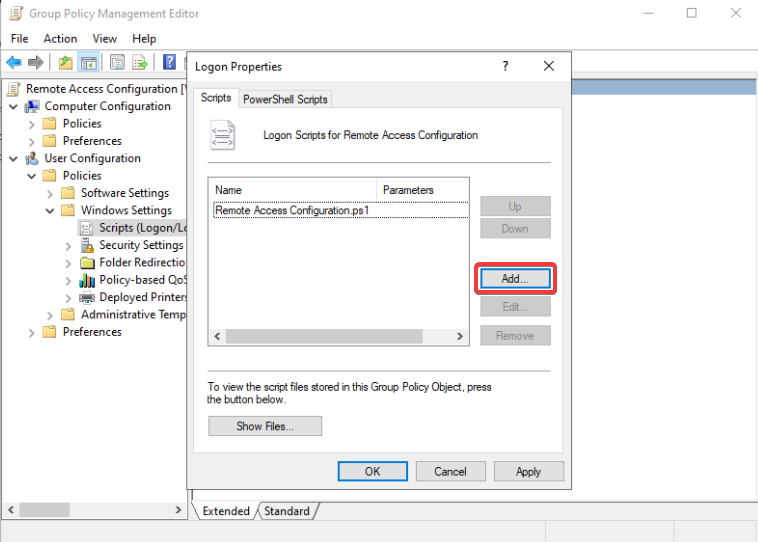
To deploy the script as a Logon script (runs as the logged-in user), navigate to User Configuration > Policies > Windows Settings > Scripts (Logon/Logoff) > Logon.
-
Click Add, then Browse to select your PowerShell script and click OK to save.
-
Close the editor, then ensure the GPO is linked to the correct OU that contains the target devices.
-
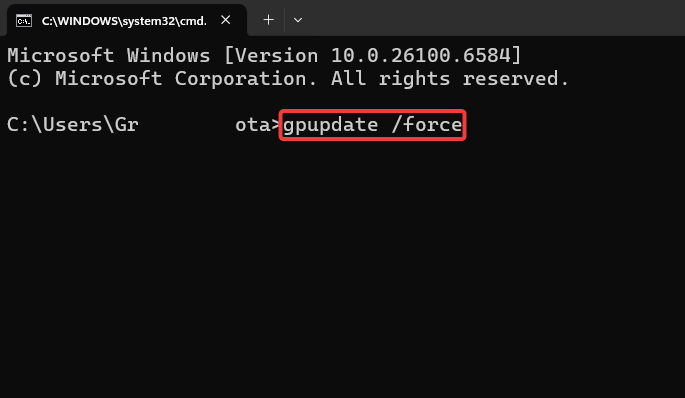
On a target device, open Command Prompt and run
gpupdate /forceto apply the new policy immediately, or wait for the next automatic Group Policy refresh.
Once deployed, the script executes on target devices based on the assigned policy type (Startup or Logon) and automatically applies the intended configuration.
5.3 Deploy the Script Locally
To deploy the script locally, first configure SSH sessions to open in PowerShell instead of the default Command Prompt for compatibility.
-
Open Run and type
regeditto open the Registry Editor.

-
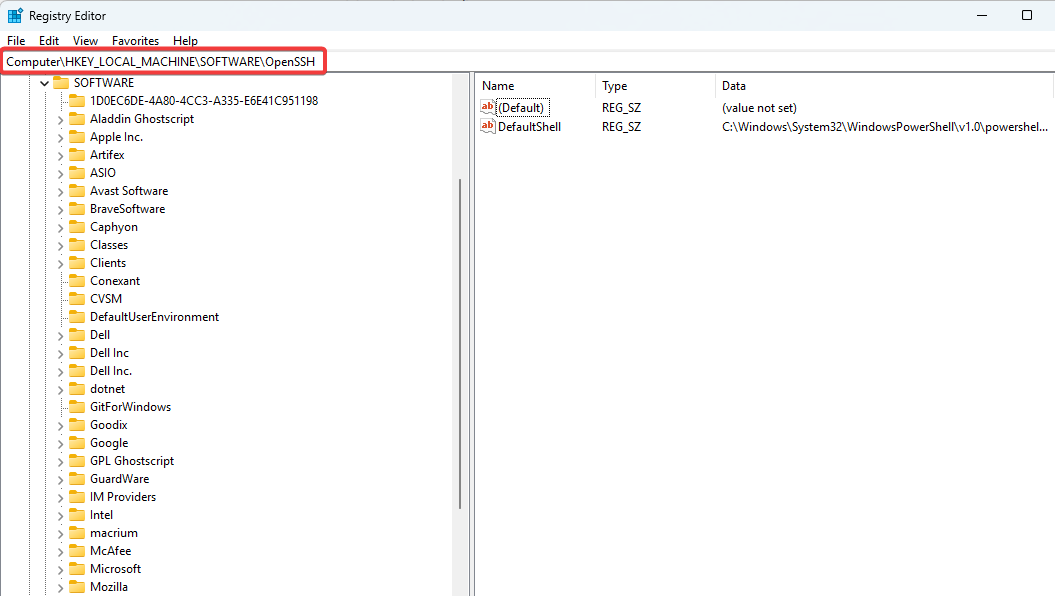
Navigate to
Computer\HKEY_LOCAL_MACHINE\SOFTWARE\OpenSSH.
-
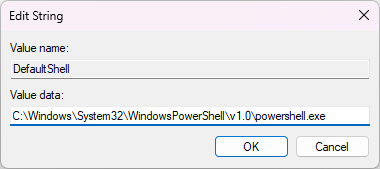
Check for a string-value file named
DefaultShell. -
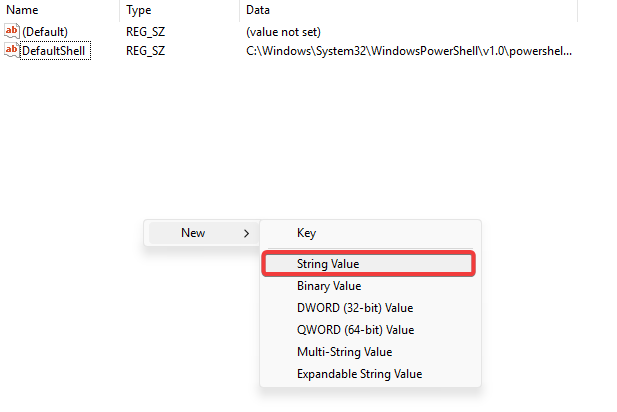
If the file is not there, right-click on a space and select New > String Value.
-
Name the value
DefaultShelland open it. -
Set the value data as
C:\Windows\System32\WindowsPowerShell\v1.0\powershell.exe. Modern systems may preferC:\Program Files\PowerShell\7\pwsh.exeif PowerShell Core is supported.
-
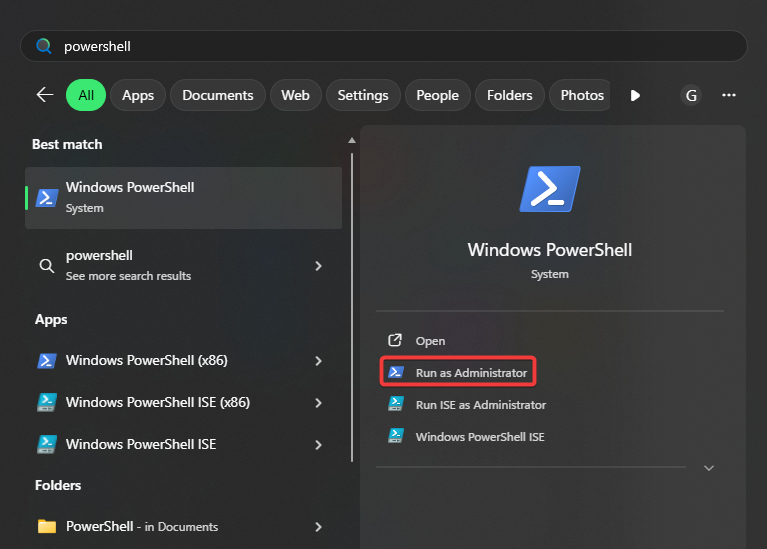
Click Start and type PowerShell.
-
Right-click on it and select Run as administrator.
-
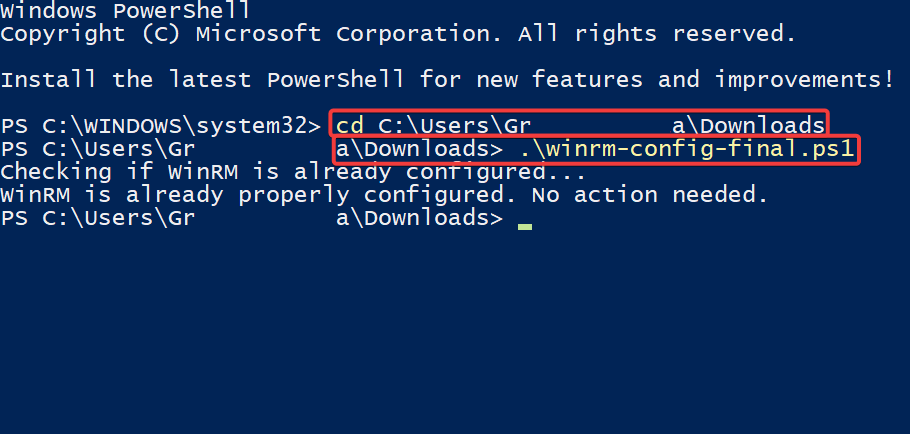
Assuming the script is in your Downloads folder, type the following in PowerShell:
# Replace YourUsername with your actual Windows username.
cd C:\Users\YourUsername\Downloads
-
Press Enter, type the filename along with its extension. e.g.:
.\<winrm-config.ps1>, and press Enter again.
-
Close PowerShell.